
How to use the Jupiter moons tracker
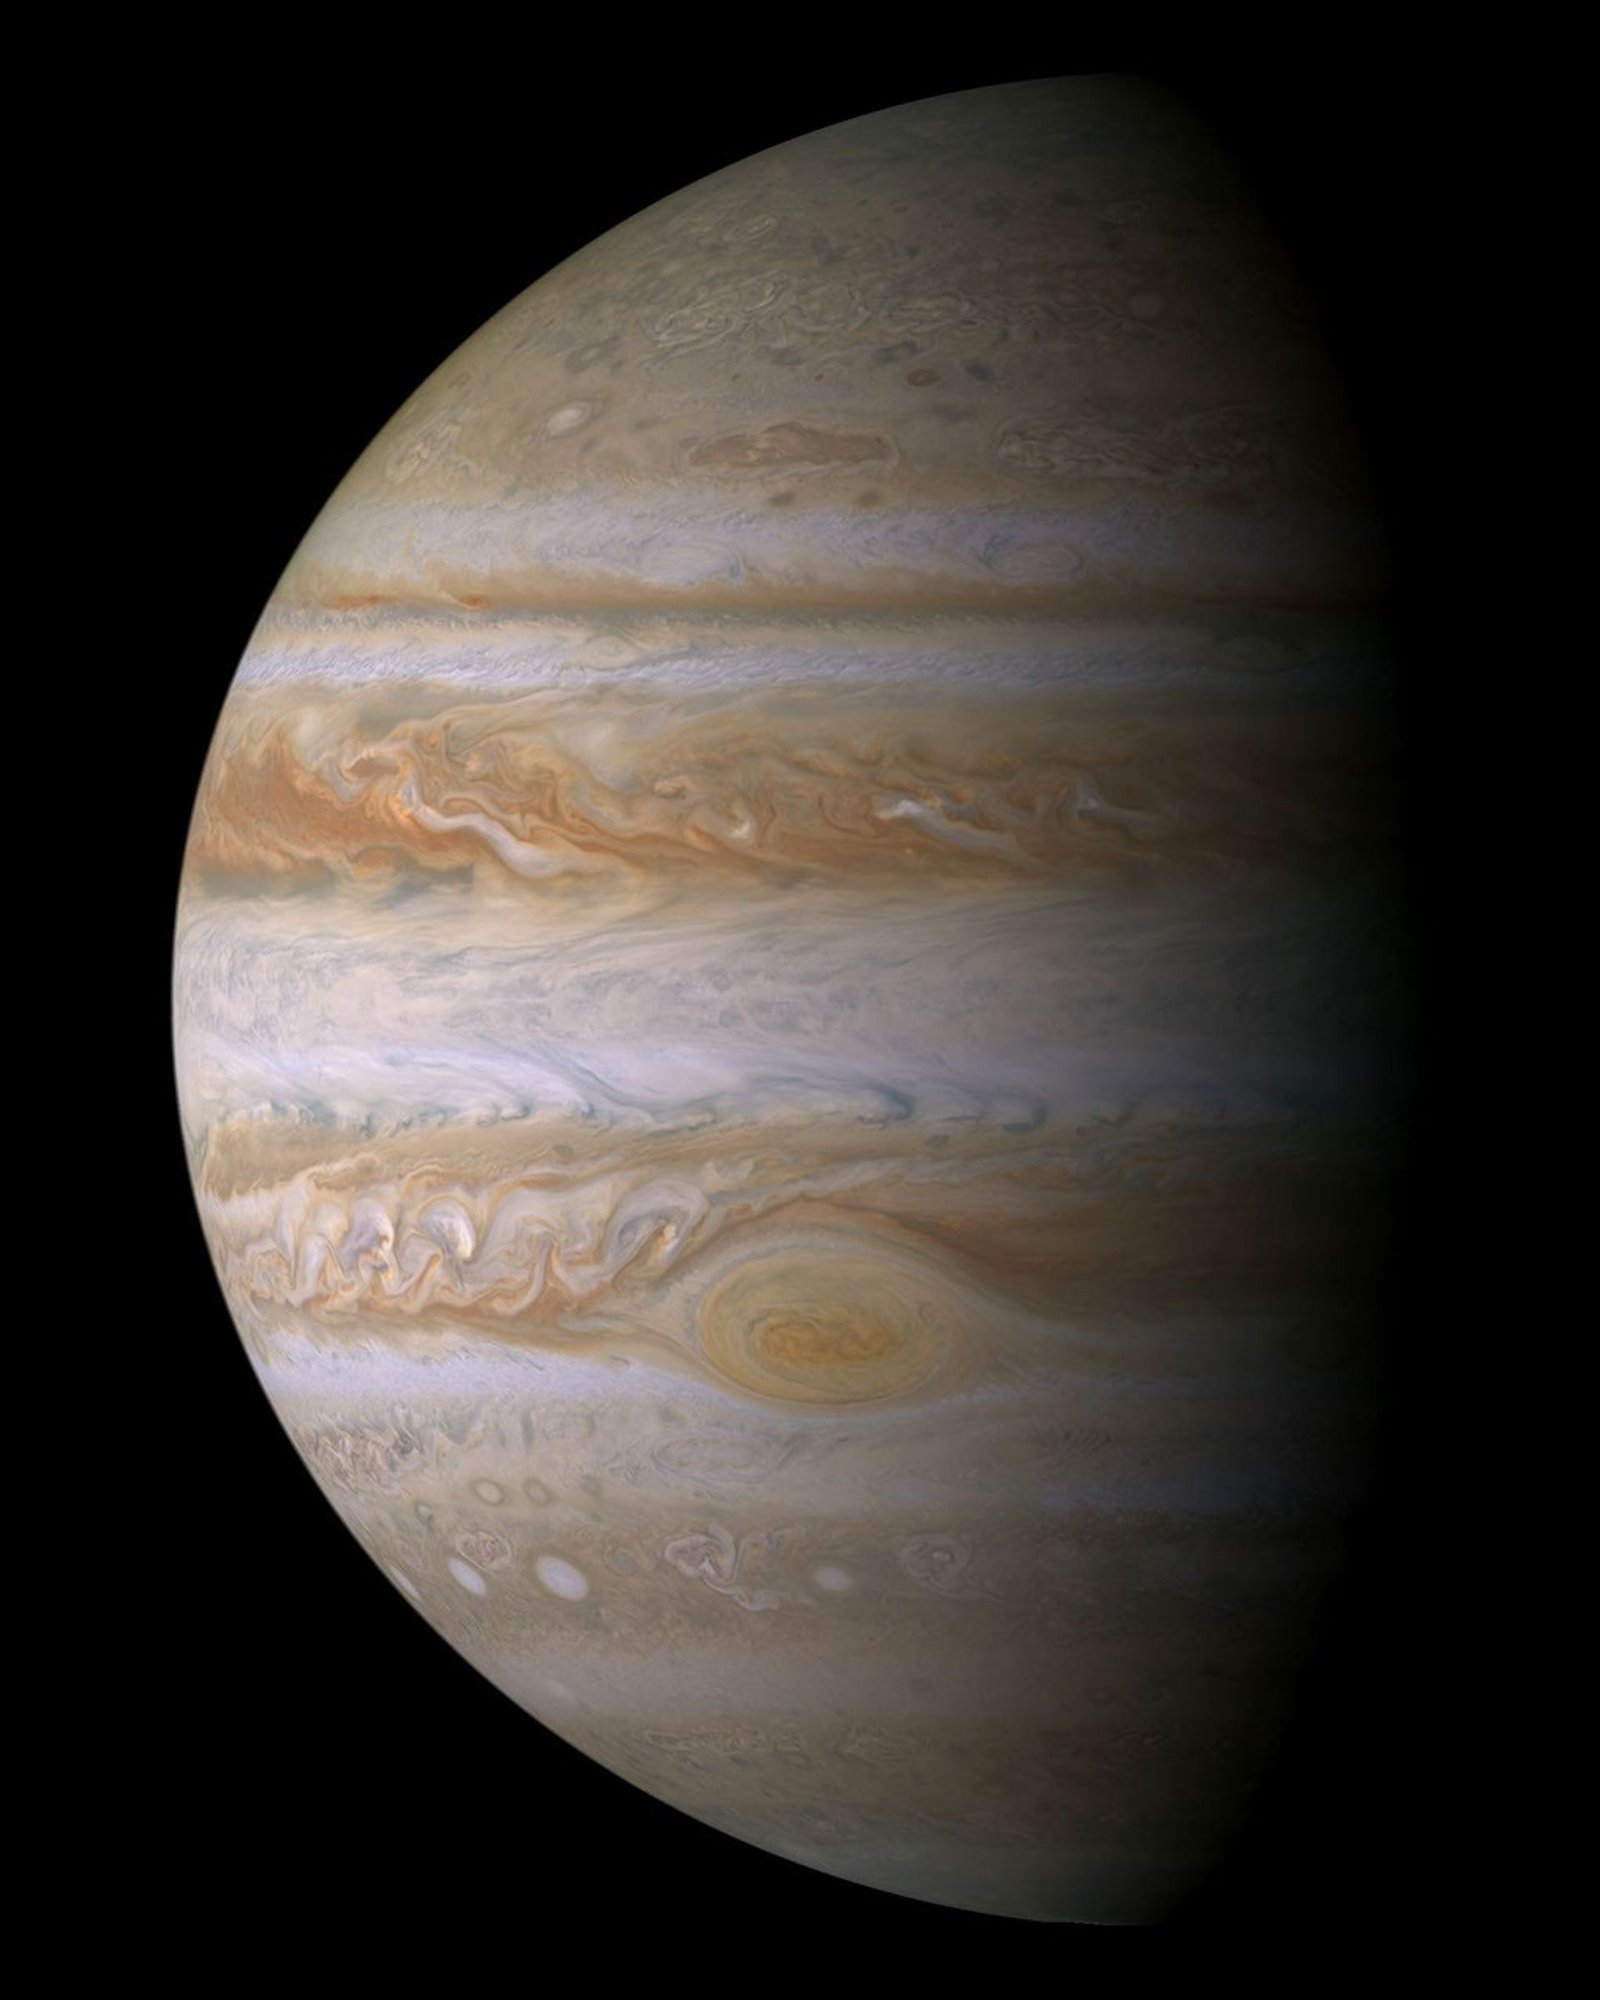
The first time you point binoculars at Jupiter, the planet may look like a bright bead with a few smaller beads beside it. Those little points are worth a second look. Their arrangement changes, sometimes noticeably within the same evening. This Jupiter moons tracker helps you put names to them: Io, Europa, Ganymede and Callisto. Start with the planets visible tonight page to find Jupiter in your sky, then return here to match the pattern around the planet.
Choose the moment you want to observe, compare the labelled positions, and check the table if two moons sit close together. The chart is a calculation of the view from Earth, with a small adjustment for your saved observing location when one is available. It is not a camera feed. Its moon markers are deliberately enlarged so that their names remain useful on a phone; their apparent surface sizes are not shown to scale.
Set the time before comparing the view
The date and time control uses UTC. This avoids an ambiguous hour when a clock changes for daylight saving time. Convert your planned local observing time to UTC before entering it. The timestamp above the chart confirms the moment actually calculated. Use Now to return to the current moment, or the hour and day buttons to explore a nearby pattern. Play advances one simulated hour each second; pause it before comparing the chart with your eyepiece.
Match your telescope's orientation
A telescope does not always present the sky the way an unaided eye sees it. Some arrangements rotate the image; others reverse it. Normal shows celestial north upward and east to the left. Inverted turns the chart through half a revolution. Mirrored reverses its left and right sides. The north and east labels change with the selected view, while the values in the table keep their sky directions. Try each setting while looking at a distinctive arrangement of three moons on one side and one on the other.
These options are starting points. Your diagonal, camera or eyepiece assembly may add a different rotation. A close match in the sequence of moons matters more than making the chart's horizontal line parallel to your horizon. You can turn your phone or rotate a printed sketch to compare the pattern. When the moons are clustered, use their separations from Jupiter rather than colour to identify them: through ordinary observing equipment they usually appear as points of light.
Read the positions without guessing
The east and north offsets describe each moon relative to Jupiter's centre. Rj means one Jupiter equatorial radius, a convenient ruler that stays meaningful as Earth's distance from Jupiter changes. An east offset of two radii places a moon approximately one planetary diameter east of the centre. The angular separation column uses arcseconds and measures the total sky separation, including the smaller north or south displacement. You can explore the changing viewing distance with the planet distance from Earth tool.
Do not mistake a large separation on this chart for a moon's full orbital distance. We see the system from a particular direction, and that perspective compresses the orbits. A moon can be physically far from Jupiter while appearing almost against its edge. Stepping forward by several hours makes this easier to understand: the same moon moves inward on the chart, crosses to the other side, and later moves outward again.
Why a moon can seem to disappear
The table distinguishes an off-disk position from a calculated alignment in front of or behind Jupiter's disk. A moon behind the disk is omitted as a visible dot, but its label and table row remain available. Treat those labels as geometric guidance. This version does not calculate eclipse contacts, shadow transits or the exact moments when an entire moon enters or leaves the limb. It also does not predict when the Great Red Spot faces Earth.
A missing moon in the eyepiece has several possible explanations. Jupiter's glare may hide it, a nearby moon may blend with it, or an eclipse may dim it even when its projected position is beside the planet. For an observation that depends on exact event timing, consult a dedicated event ephemeris and confirm its time standard. The NASA/JPL Horizons service provides a primary source for solar-system ephemerides; a position diagram alone cannot establish every visibility event.
Meet the four moons you are following
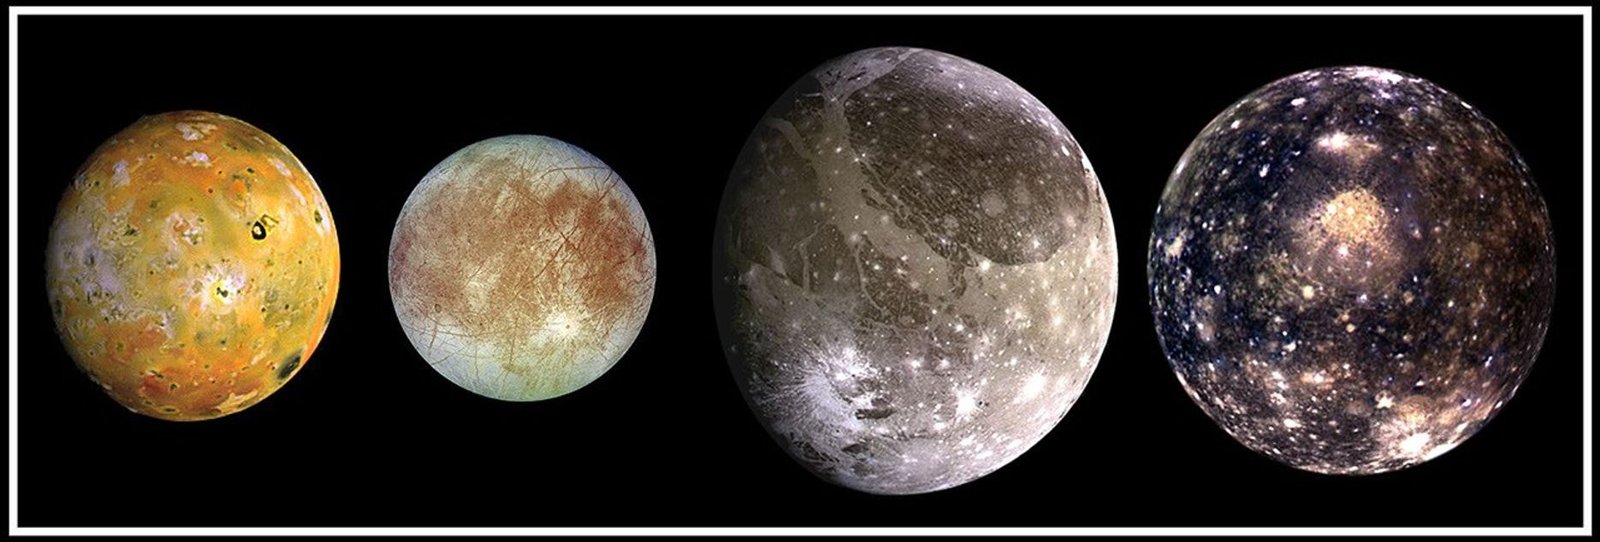
Io is the innermost of this group, followed by Europa, Ganymede and Callisto. Their names remain tied to their orbits, not to a fixed left-to-right order in your eyepiece. During an observing session, the apparently nearest point may belong to an outer moon seen almost along the line toward Jupiter. Label the dots from the calculated pattern rather than assuming that Io must always be closest to the planet on the screen.
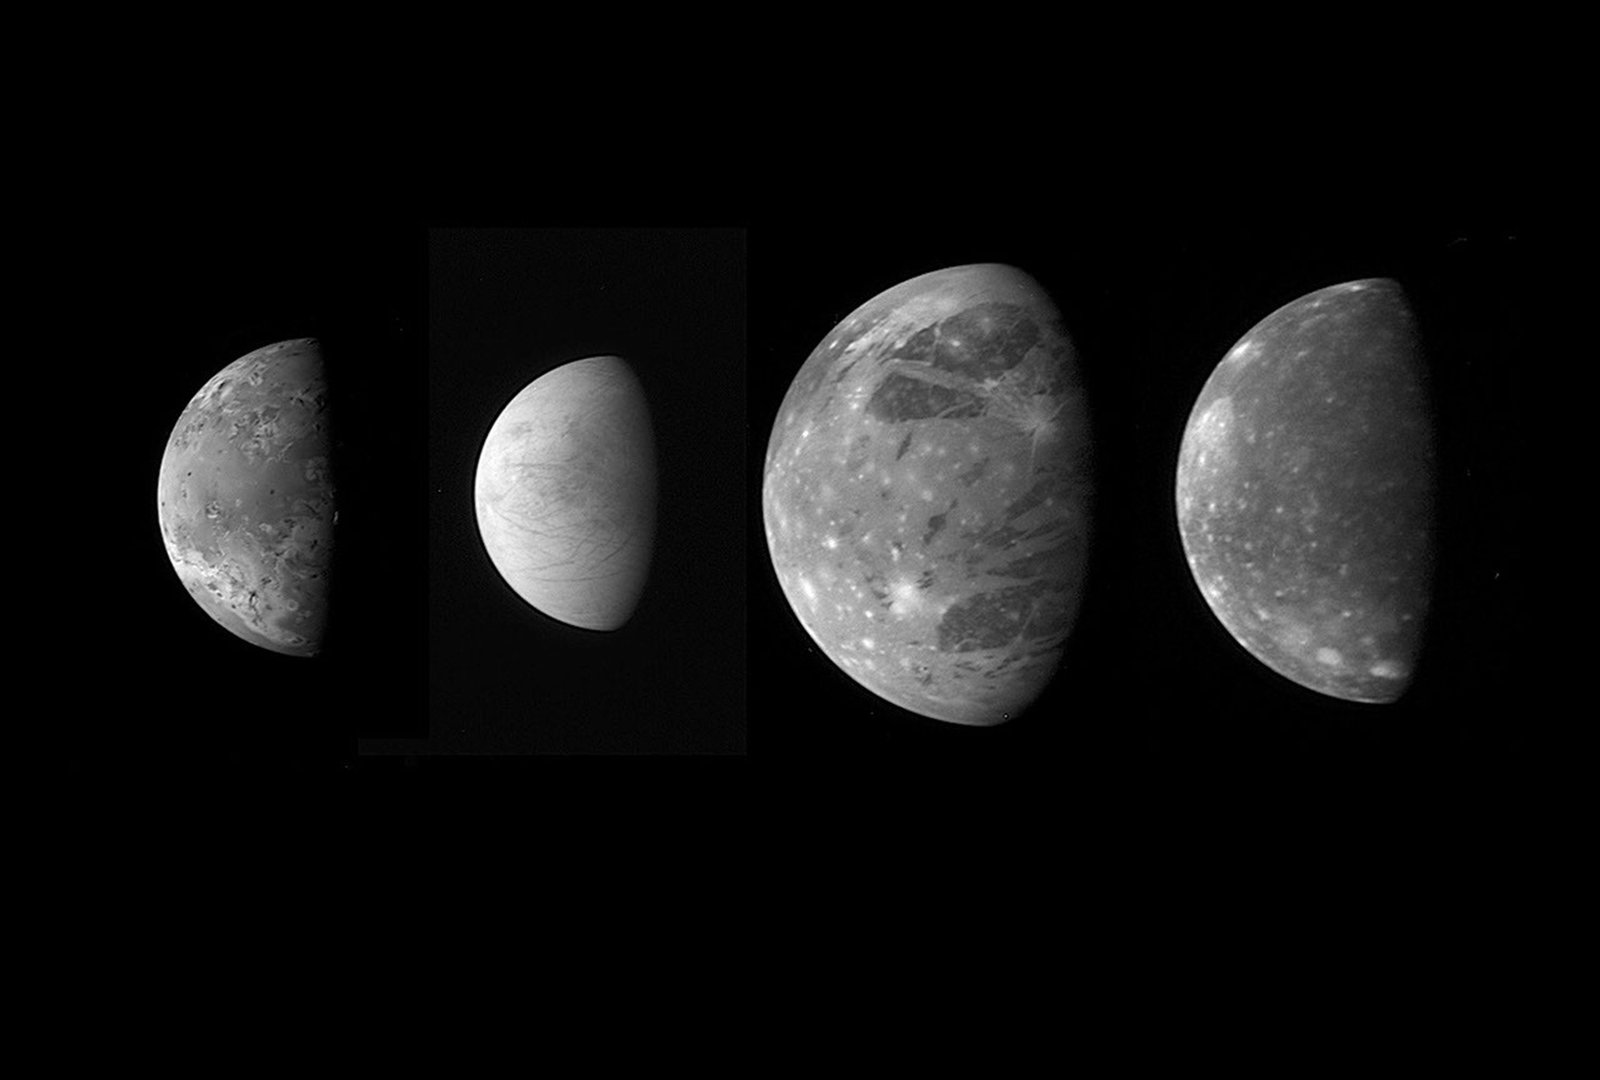
Spacecraft photographs reveal differences that small backyard instruments cannot resolve. Io has a volcanic surface, Europa is covered in ice, Ganymede is the largest moon in the solar system, and Callisto has a heavily cratered appearance. The NASA guide to Jupiter's moons is a useful companion when you want to connect a tiny point of light with a physical world. Here, the photographs show those worlds honestly as mission reference images, separate from the position calculation.
Plan an observation from your own location
This page reads the observing location already selected in the site header. It does not request a second GPS permission or replace your saved city. With a location set, it displays Jupiter's altitude and azimuth together with the Sun's altitude for the selected moment. Altitude tells you how high Jupiter's centre is above the horizon; azimuth gives its compass direction. Buildings, hills and trees can still block a target that is mathematically above the horizon.
A high altitude often gives you a clearer opportunity than a view close to the horizon, where atmospheric disturbance can make Jupiter shimmer. Daylight, haze and glare also matter. The tool reports the geometry, not your local weather or a guarantee that each moon will be visible. Use the Sky Tonight planner for broader context, choose an unobstructed place, and give your eyes time to settle before judging a faint point near the planet.
Make a short observing record
Keep your first session manageable. Select a comfortable time, make one careful identification, and return after an hour if possible. Support binoculars steadily rather than trying to hold the pattern still by hand. Begin a telescope comparison with a low-power eyepiece so that the outer moons stay in the field. If you increase magnification, check that a moon has not simply moved beyond the edge of that smaller field. A field star can also appear beside Jupiter; unlike the tracked moons, it will not follow the calculated changing pattern. Recording the same area on another night helps you separate an unfamiliar background star from one of the four named satellites.
A simple sketch is often more useful than a hurried photograph. Draw Jupiter as a circle, place the visible points beside it, and write the UTC time and telescope orientation. Repeat the sketch later in the evening. Compare both with the tracker, keeping the same view setting. If a point does not match, first check the time and image reversal before deciding that the calculation or your identification is wrong.
The calculations use the site's local Astronomy Engine library, including its Galilean-moon model and a light-travel-time correction. Results are intended for identification and planning within the offered 1900–2100 date range, rather than precision contact timing. For the larger orbital picture, open Solar System Live, or browse the other Planets & Solar System tools. Come back on another evening and compare your sketches: the changing pattern is the most rewarding part.